The first part was a joke on me as I'm a loon and have the power to destroy anything at will. So I decided as my New Years Resolution that I was gonna mod my new video card. So on this day(New Years Eve 2000), I took it upon myself to shut down my computer, rip out the video card and go play with the drill press. What I was going to do was put one of my waterblocks onto the video card, but that would require some modification of the watercooling system(a few Y or T connects), and modification to the base of the waterblock itself. I was willing to do it all but I was too lazy to go get the connectors. So I went ahead and proceeded to make the needed mods to mount the block onto the video card. Thats when I found out that I didn't have the right tap for the holes I had made. They wrent deep enough, and if they were deeper, they'd go into the block's waterchamber. Damn it all to hell.
As I was trying to figure out a way to get this bugger to mount right, I looked at my "joke" heatsink that was mentioned earlier...all of the sudden a large smile came over my face. "Oh no, I can't, I wouldn't....", and then I picked up the heatsink and proceed back towards the drill press. A few minutes later and a few twist of the tap I had a nice and tapped heatsink to mount. I should've took a picture of it but screw that now, the card is in the computer and I'm not taking it out.
As I said in the other page, I could easily cover the memory with the shear size of the heatsink. I remembered that I was going to take a small length of copper pipe and cut it up so I could make a cold plate for my watercooling/peliter project. I grabbed up the piece of copper, took some sheers to see if it would cut it, yup, now onto the flatting and smoothing. That is where I slacked off on, but I hope the thermal compound will give me a hand their. I cut the pipe so I would have two separate pieces, then I trimmed them down just to cover the memory themselves, and lastly I slapped on the thermal compound. Here is the picture of them on the memory below.
![]()
Now that that was done, I went onto mount the heatsink, this was actually a pain as I didn't have screws long enough to go into one side of the heatsink. I finally found a few that just barely gripped and screwed them in, after of course I put thermal compound on the needed areas. It looks like what you see below.
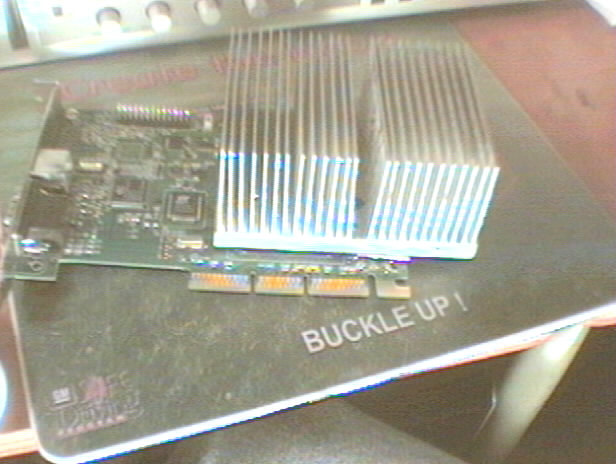
In this next picture you'll be able to see how I put the screws on, I made sure not to let them touch any traces and made sure they were small enough where it wouldn't damage the PCB or I'd be royally f*cked.
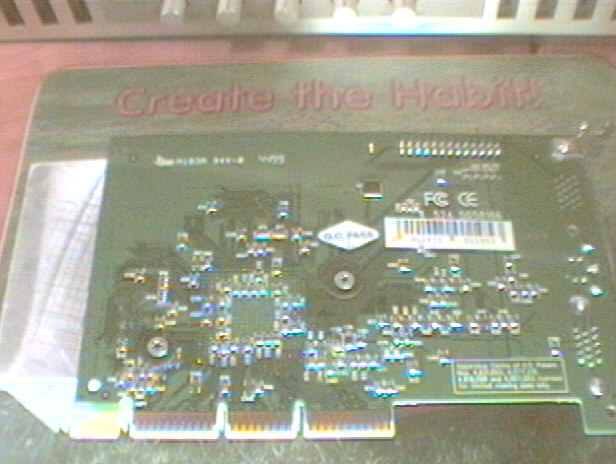
This last one shows the copper spacers sandwiched between the heatsink and the memory themselves. You have to look close to see it.
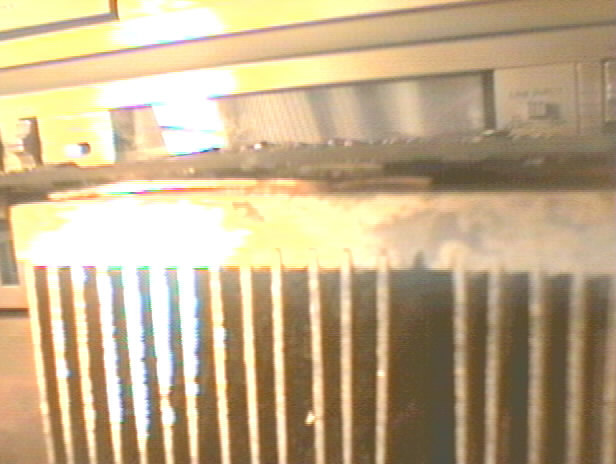
And that is it. I hope I can somewhat overclock this as soon as I get my CoolBits hack back working. It decideded to disappear on me and the video card's OC program is worthless. Next I'll proably get around to mounting that waterblock. And if you don't believe that I did it this time, here is a picture of it installed in the computer the following picture was taken with(The other pictures were taken with my mom's computer). Did I mention it takes up two and a half PCI slots?

* Anyone notice how the mousepad says "Buckle Up" and "Create the Habit",
I thought it was apporitate considering the subject matter. That was my
old pad until my mom stole it from me.