Ok, I had thought of this awhile ago but was to damn lazy to do
so and I couldn't figure out a way of not breaking everything invovled
in it also. So someone on the [H]ardForum
asked something about making his floppy cable shorter. Since I had already
thought about it but never did it I tried my hardest to explain how to
do it. Since I'm having problems with my computer before a Lan Party I
decided this would be the best time to make another cable for my A drive,
since I had already rounded it and all the other drive cables.
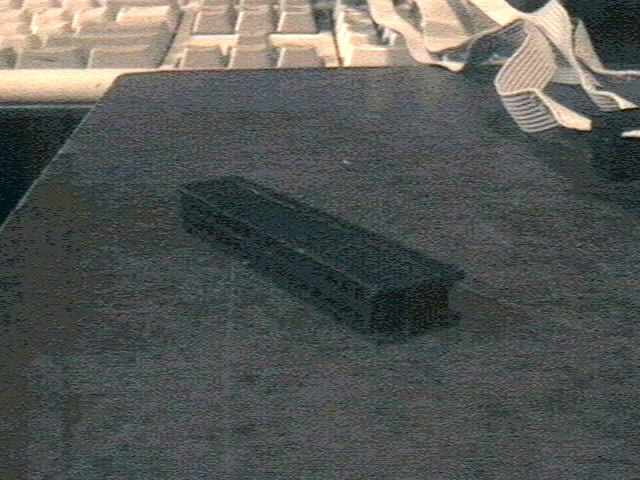
You're gonna need to take these off the cable now. You're gonna do this by taking the twizers/pilers and VERY CAREFULLY wedging it into a small area at the bottom edge of the connector(on the side with the pin holes). You need to hold it up a little bit without breaking it(see below) and then you're gonna pull the back half off very slowly and just a little bit, just enough where you can let the little clip down. Then you're gonna need to do it on the other side and you should be done. Here is a picture of where the clip is located:

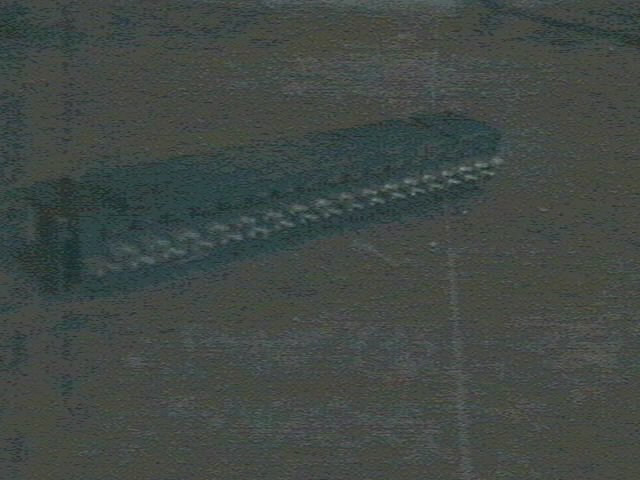
The most important part of the operation is NOT TO F*CK UP the hold down as shown below. The area in green is NOT broken while I screw up the area in red and put to much upward pressure on it and it snapped. These pieces are very weak.

Next you're gonna have to carefully pull the cable off of the connector because the connector actually has cut into the wire in order to make the connection with the cable. Take it slow because some of the pins will proably stay in the cable and you're gonna have to put them back into the connector after you are done. After that look at the connector and make sure you have all the "teeth" still in(and not your own cause I could give a damn about your teeth).
That was the easy part. Yes that was the easy part. Cause now you have to strain some braincells in the next few parts. Ok, now that you have the connector(s) off, you should now have a cable with three pieces. The piece in the middle is the "twist" and it is what makes which drive is A drive. You wanna pull this down as far as you want the connector to be and then some. Where you stop is where you are gonna put the connector below. Now you're gonna wanna take the hold down piece and lay it down and put the cable in. Make sure that the cable's Pin one is in the right place or you may have a problem(easily fixed). Next you need to make sure that you lay the "twist" down properly or else the cable won't work as an A drive cable. Now the first time I did this I had the angle wrong but I don't know if that had an effect or not but it looked hella ugly. So make sure it is straight across. Then put the connector side of the connector onto the wire and line up the hold down clips. Next you need to get that clamping device(vise/vise grips) and slowly and carefully squeeze them together. After this you should be done. And it should look like this:
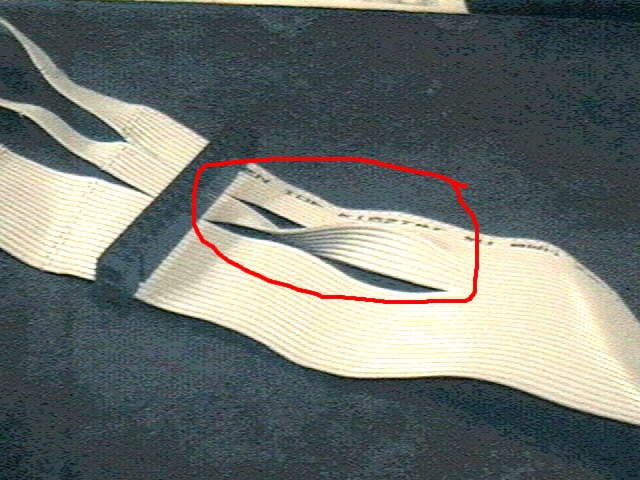
Now for the visual feel of your new cable. The new cable is the light gray one. Its finished size is marked in red. The old cable which was rounded is much longer, its size is marked in green. Later I will round the new one if needed.

There, that wasn't so hard was it. Now off to the lan party to impress them with my little piece of magic. And get my ass handed to me in every game.